
")

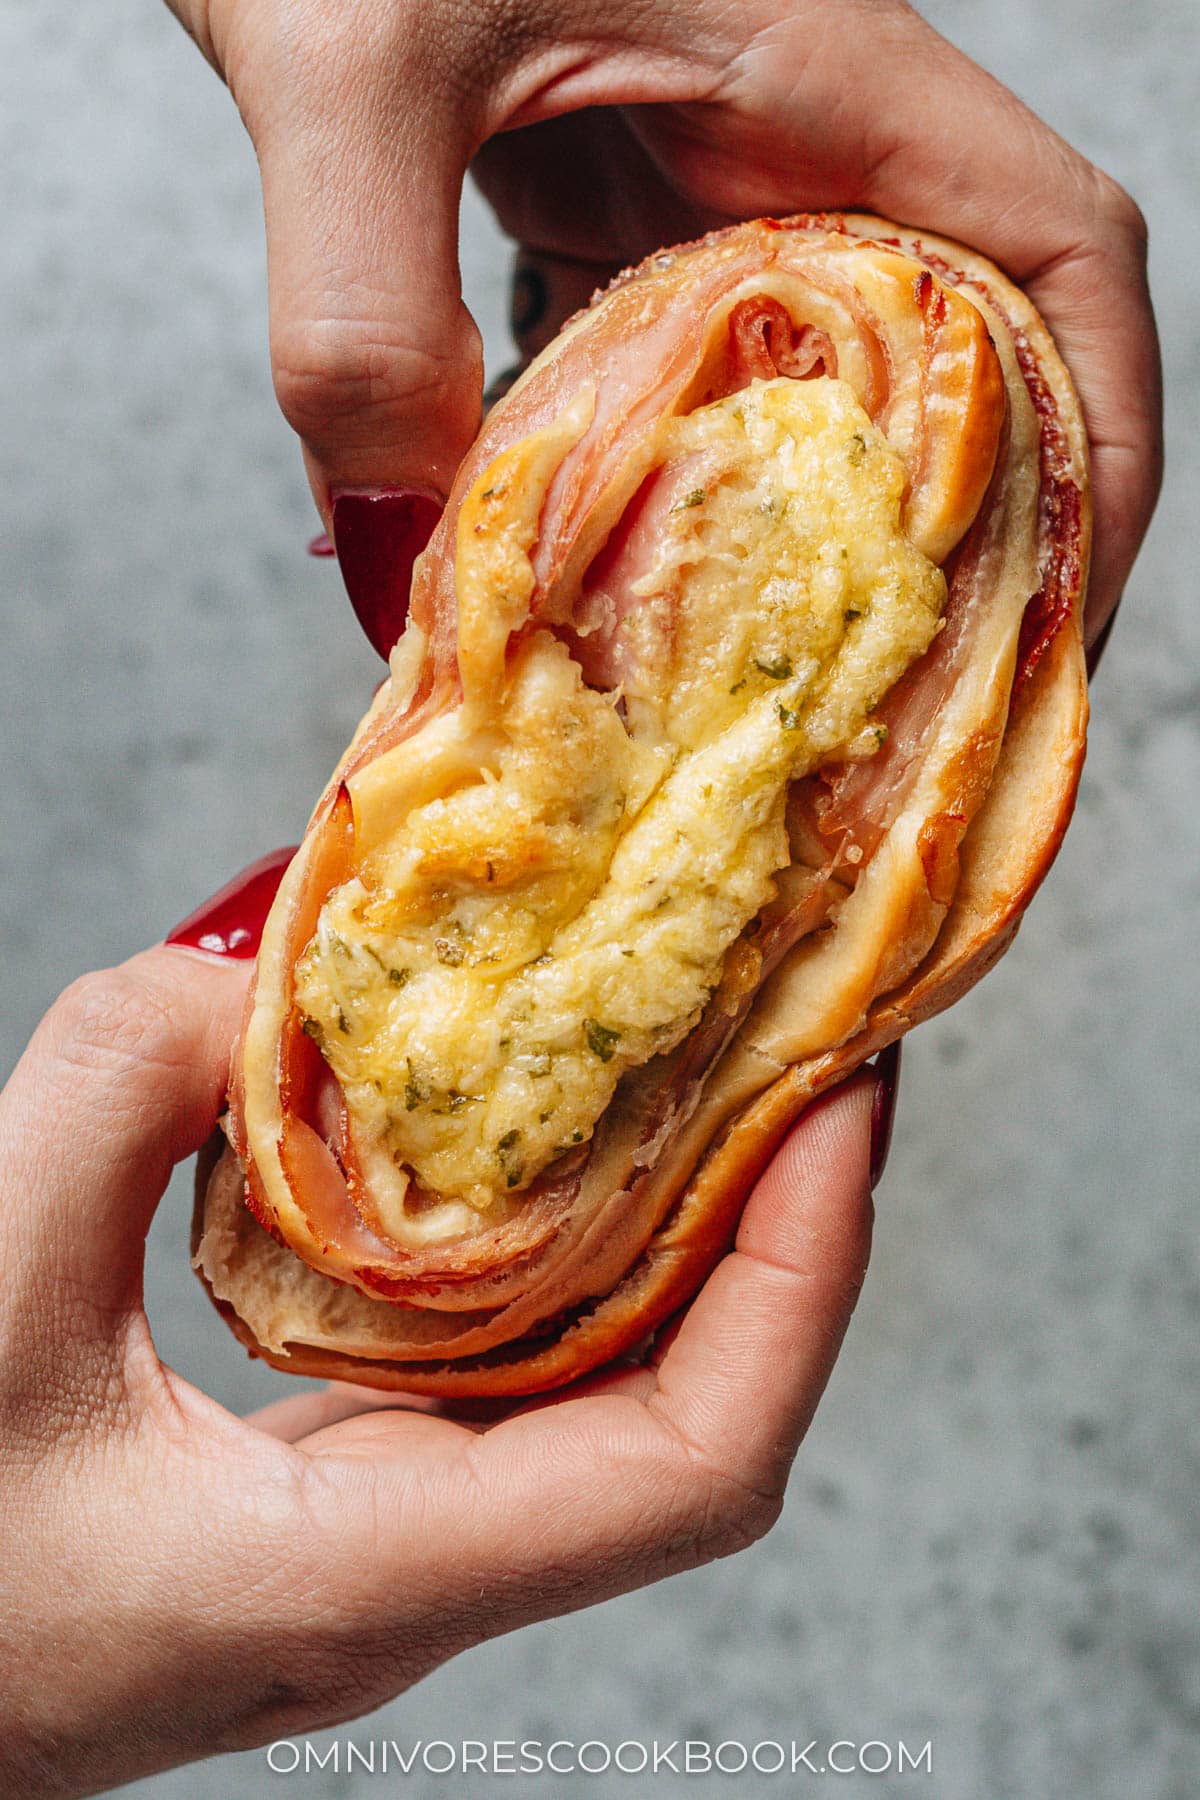
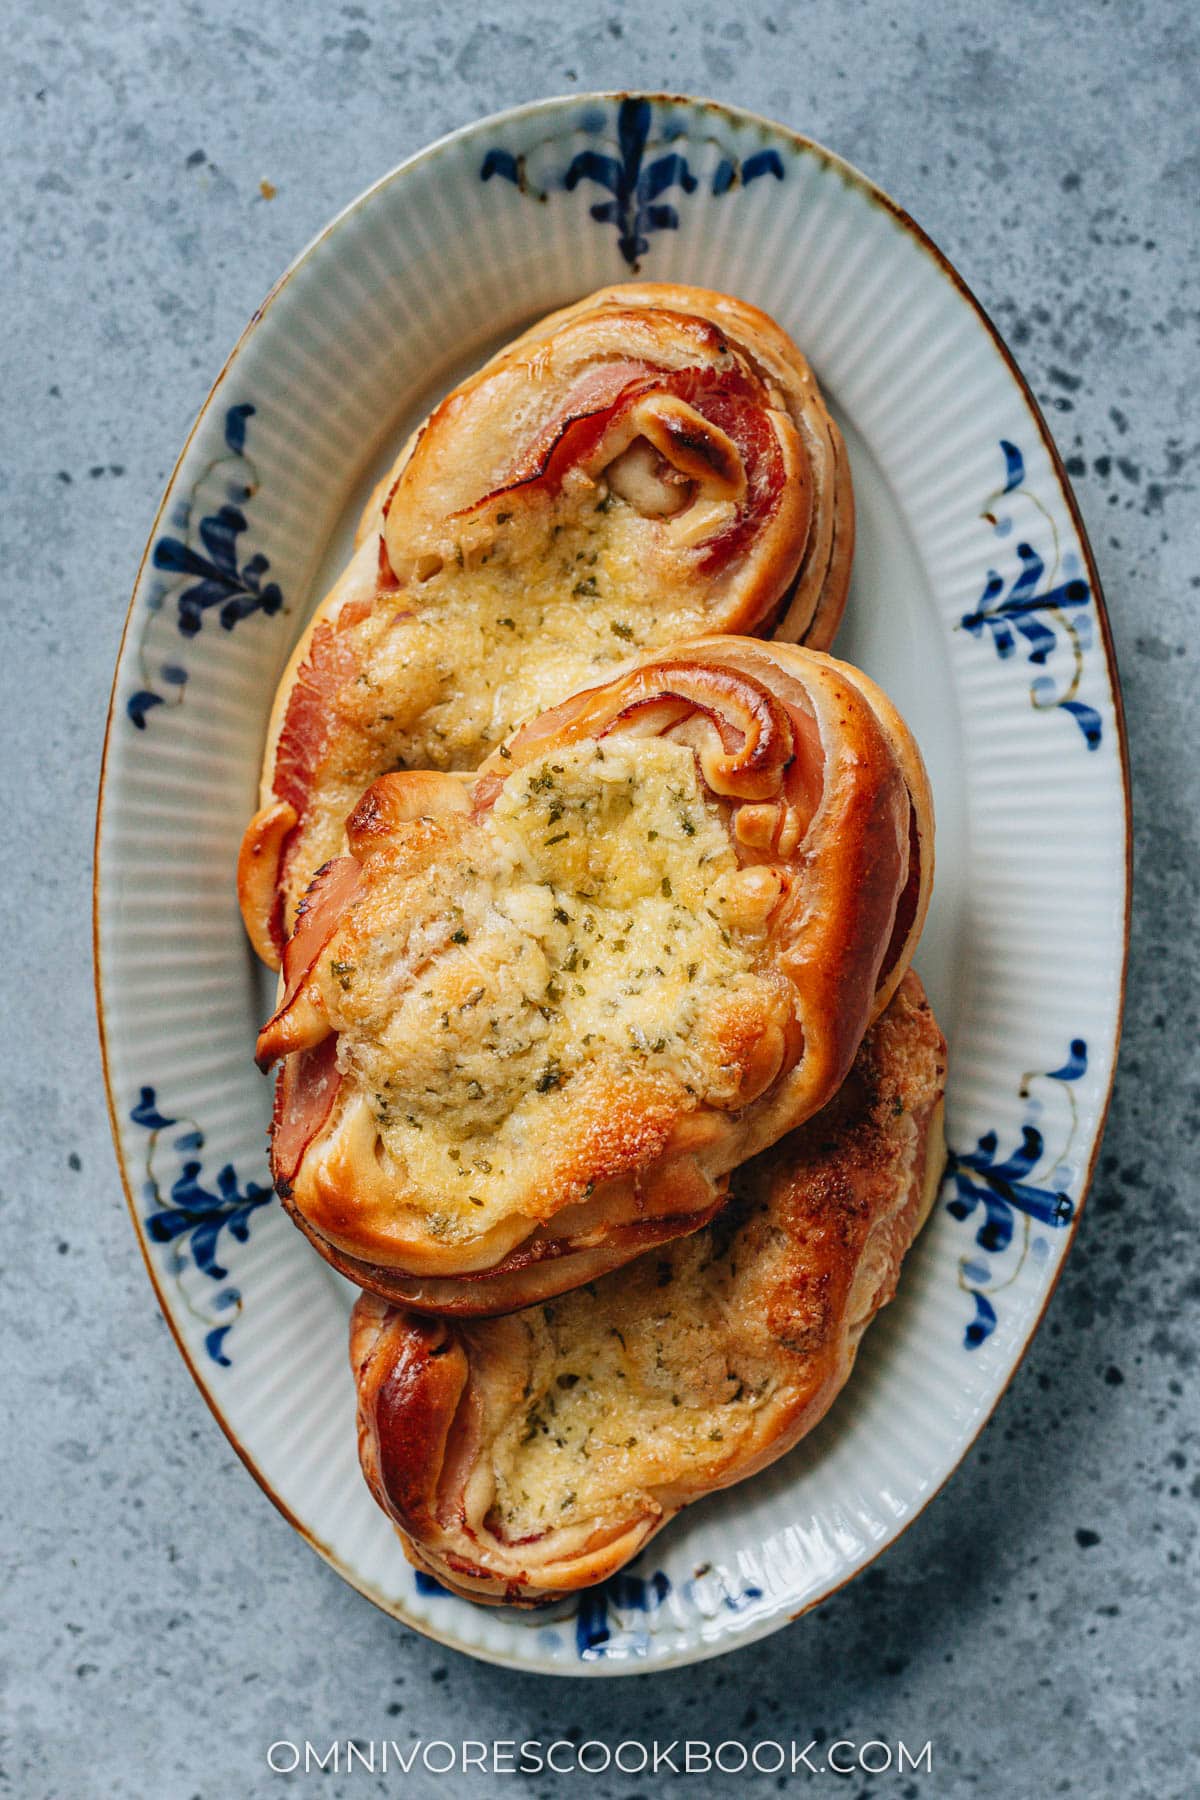
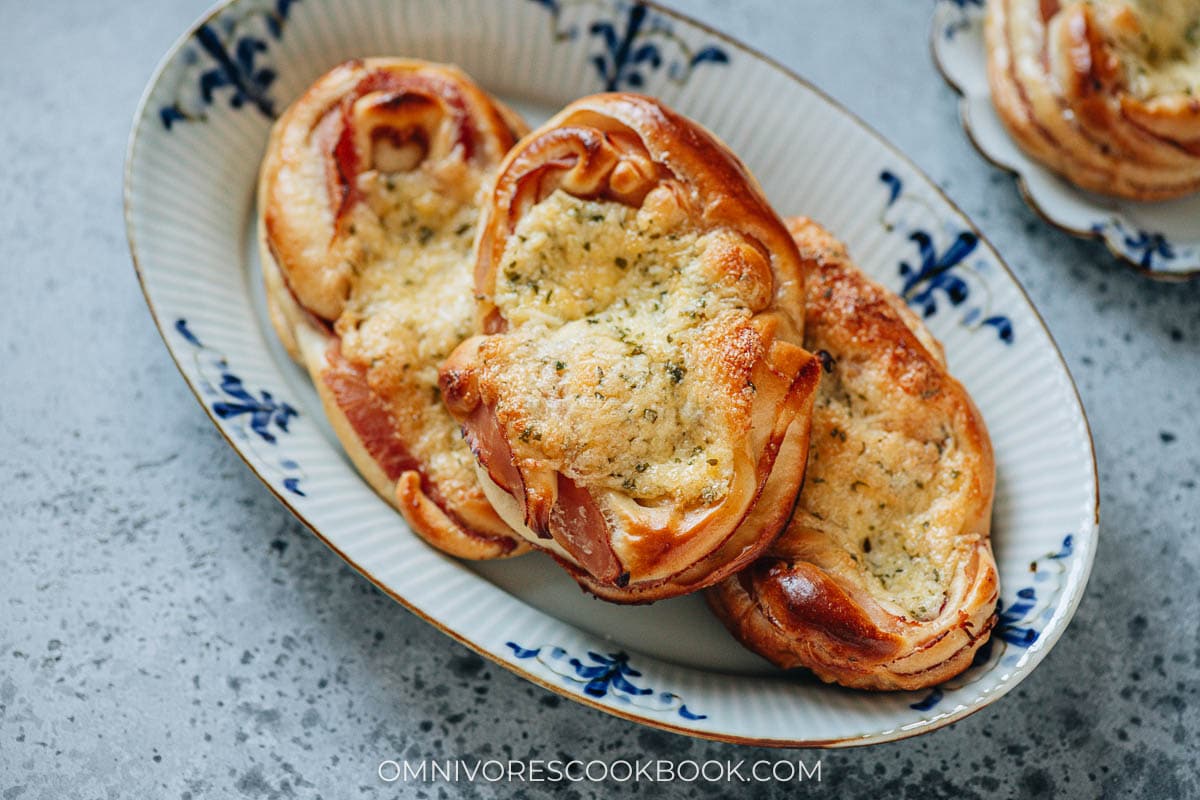
Make Chinese bakery-style ham and cheese buns that have a soft and moist bread dough, crispy ham, and melty cheese topping. This recipe includes a very easy foolproof milk bread recipe that requires little hands-on time. Make these ahead of time for breakfast, snacks, or a treat at your holiday party.
If you ever walk into a Chinese bakery, you’ll be greeted by an irresistible aroma of freshly baked breads and pastries. Among the wide variety of options, one popular favorite is the ham and cheese bun — a soft, fluffy bun filled with savory ham and gooey cheese. It’s a snack that perfectly balances sweet and salty, and it’s often enjoyed as breakfast, a midday snack, or even as a light meal.
In this post, I’ll guide you through the process of making this delicious treat at home, with a few tips to get that bakery-style soft milk bread that Chinese buns are known for. Whether you’re already a fan or new to this delight, this recipe will make you fall in love with the humble yet irresistible ham and cheese bun.
Why this recipe?
- Very simple and foolproof milk bread dough with minimal hands-on time
- Your kitchen mixer will do most of the work for you
- The bread is light and soft, with a pillowy texture
- The shape and the taste of these ham and cheese buns are truly Chinese bakery-style
- You can make them ahead of time and they will stay soft and moist


Ham and cheese buns ingredients
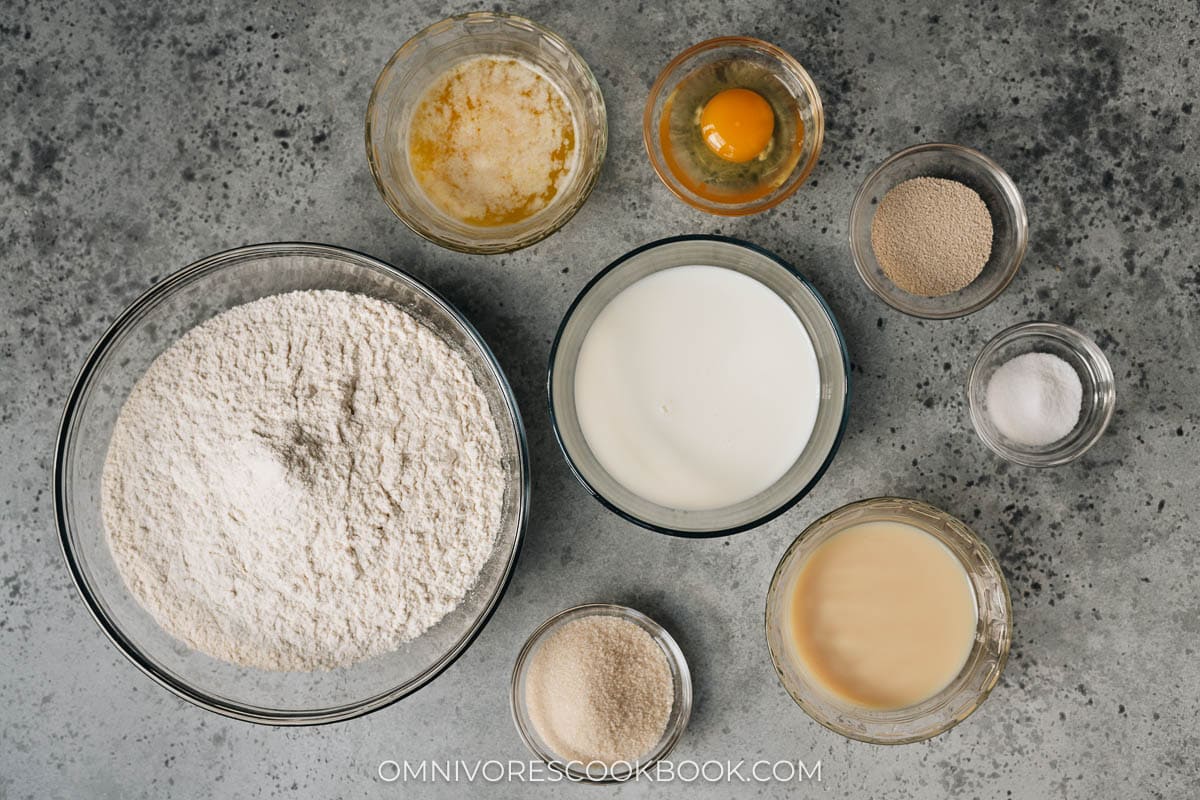
Ingredients for the milk bread
You only need eight ingredients for the milk bread dough:
- Bread flour
- Yeast
- Sugar and salt
- Whole milk
- Sweetened condensed milk
- Butter
- Egg

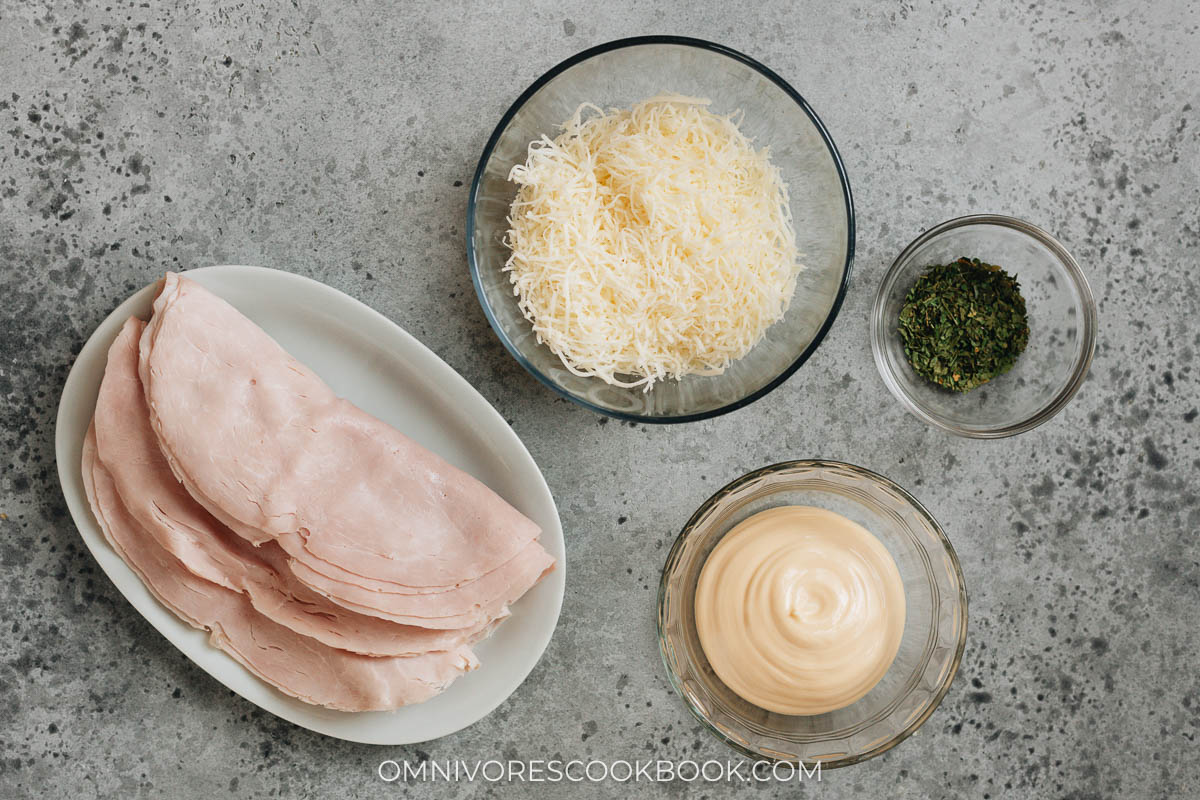
Ingredients for the filling
The ham and cheese filling requires four simple ingredients:
- Sliced ham
- Shredded mozzarella cheese
- Mayo
- Dried parsley
How to make ham and cheese buns
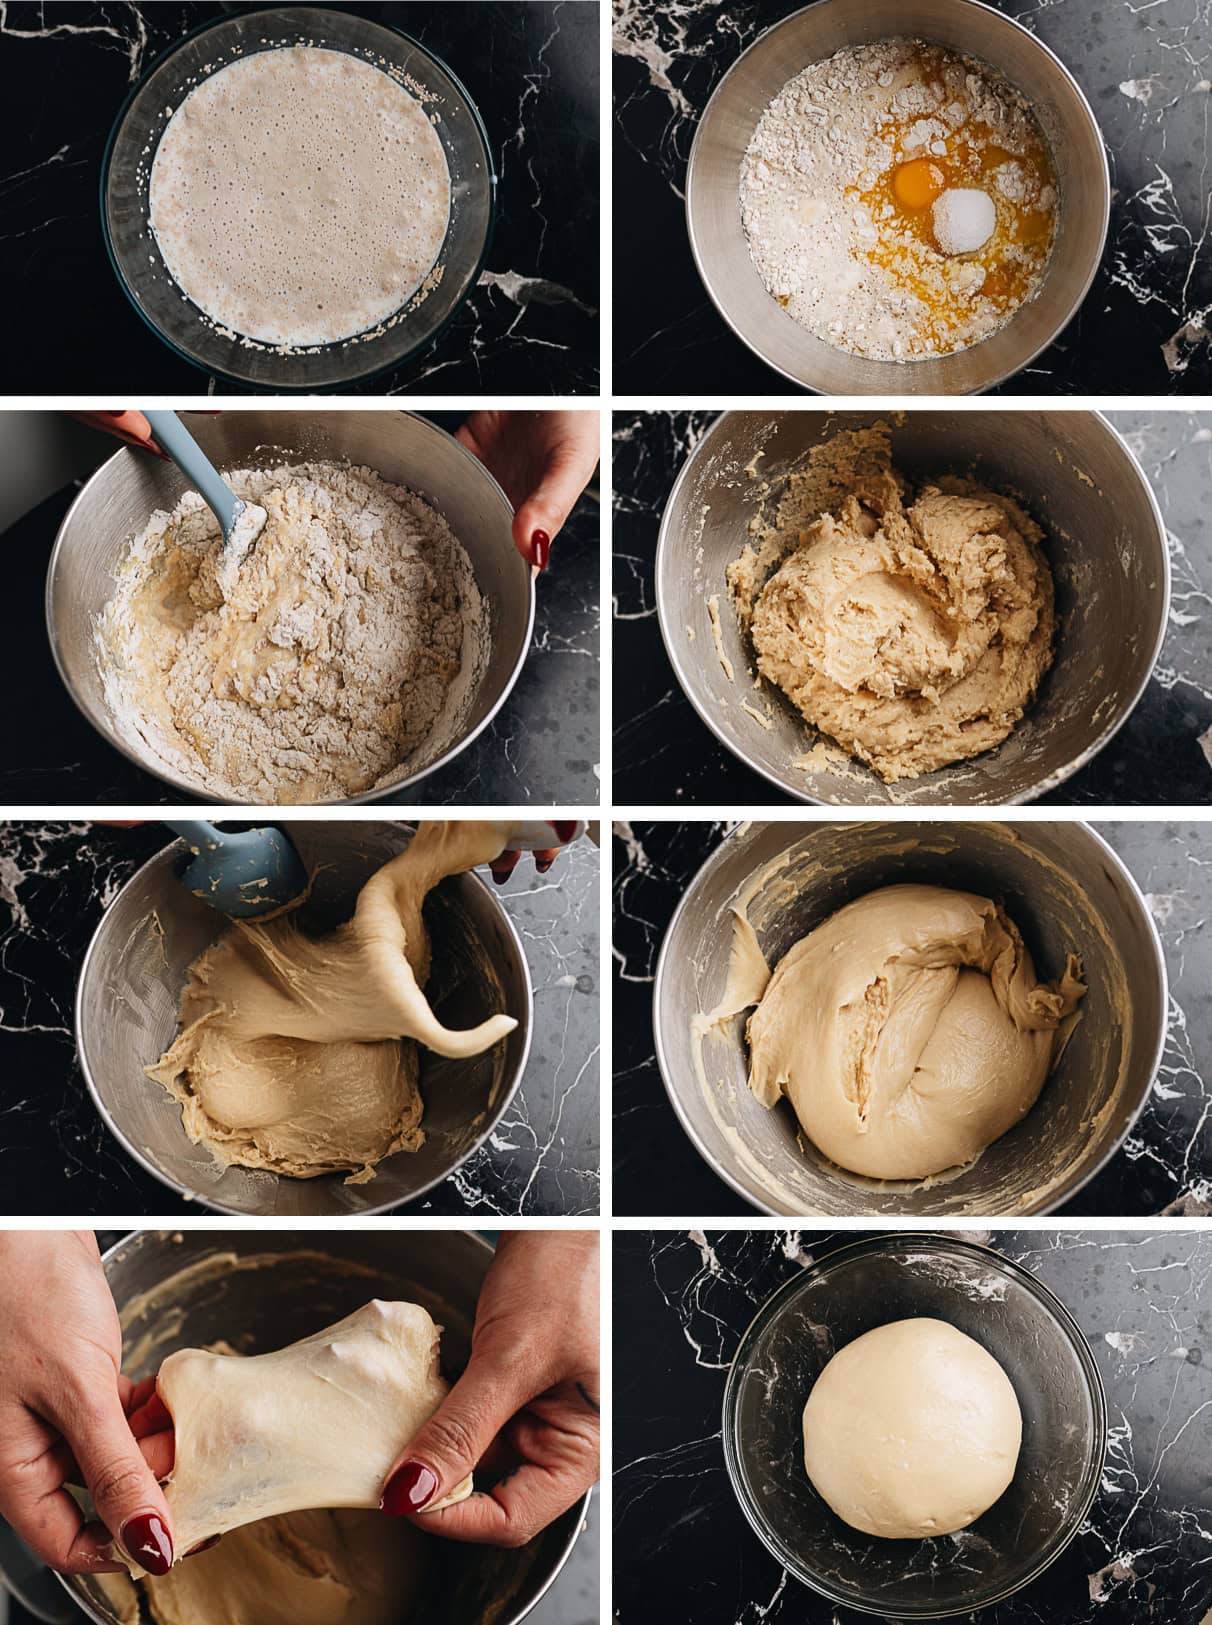
Prepare the milk bread dough – first rise
- Activate the yeast
- Mix all the ingredients together
- Mix with a spatula until a rough dough forms
- Let the dough rest for 20 minutes
- Knead the dough with a mixer, scraping down once halfway through
- Mix until a smooth sticky dough forms
- The dough should pass the windowpane test
- Gather the dough into a bowl and rest until its size doubles

After the dough has proofed, punch it down and make it into a ball. Then divide the dough into eight even pieces. Shape each piece into a small round ball.


Assemble the ham and cheese buns – second rise
Assembling the ham and cheese buns might sound confusing, so I’m using these step-by-step pictures to show you exactly how to make them:
- Roll out each dough piece into the shape of a ham slice, slightly bigger than the actual ham
- Place the ham over the dough
- Roll up tightly
- Roll the dough slightly to smooth it out
- Pinch to seal both ends
- Pinch the two ends together to form a “water drop”
- Let the dough stand on its side, then slice it in the center while leaving the pinched ends unsliced
- Pull the two sliced pieces apart and lay the dough flat
Now you need to place the assembled buns onto a lined baking sheet, and let them rest again.

Make the cheese filling
Make the cheese filling by mixing the shredded cheese, mayo and dried parsley.


Fill the cheese filling and bake
Once the assembled buns have finished the second proofing, brush them with egg wash. Then fill the center of the buns with the cheese filling.
Bake the buns at 350°F (176°C) for 18 minutes until golden.

The buns will be soft, moist and fluffy, with crispy ham edges and melting cheese on top. It smells so good at this point that I always want to bite into a piping hot bun immediately. And it’s very difficult to stop eating once you start!

How to store and reheat ham and cheese buns
You can store the ham and cheese buns loosely covered at room temperature if serving within an hour or two. Or in a sealed container at room temperature after fully cooled, if you’re planning to serve them the same day.
Store the buns in a sealed container in the fridge for up to two days, or in the freezer for up to three months.
I highly recommend reheating the buns in the oven to warm them up just before serving, so they will have the best texture.
Chinese bakery-style ham and cheese bread is a comforting, nostalgic treat for many and a delightful discovery for those new to Asian bakery fare. It combines the best of both sweet and savory worlds, and the soft, fluffy bread makes it a crowd-pleaser for any occasion.
Give this recipe a try and experience the magic of freshly baked ham and cheese buns in your own kitchen! Trust me, once you’ve had these warm, melty delights, you’ll be making them again and again.
More Chinese bakery recipes


Ham and Cheese Buns (Easy Milk Bread)
Make Chinese bakery-style ham and cheese buns that have a soft and moist bread dough, crispy ham, and melty cheese topping. This recipe includes a very easy foolproof milk bread recipe that requires little hands-on time. Make these ahead of time for breakfast, snacks, or a treat at your holiday party.
Ingredients
Dough
- 300 g (2 1/2 cups) bread flour
- 140 ml (1/2 cup) whole milk
- 7 g (1 packet / 1 teaspoon) active dry yeast
- 30 g (2 1/2 tablespoons) sugar
- 5 g (1 teaspoon) salt
- 80 g (1/4 cup) sweetened condensed milk
- 4 tablespoons butter , melted
- 1 large egg
Filling and Topping
- 8 pieces ham , medium or thin sliced (*Footnote 1)
- 1/2 cup kewpie mayo
- 1 cup mozzarella cheese , shredded
- 2 teaspoons parsley , dried
- 1 egg , for egg wash
Instructions
Prepare the bread dough – 1st rise
-
Add the milk into a small bowl and warm to approximately 100-110°F (38°C), about 30 seconds in the microwave. The milk should be warm, just a bit above body temperature. Add a pinch of sugar and the active dry yeast. Let sit for 5 minutes so the yeast will activate.
-
While the yeast activates, add the rest of the ingredients into your mixer bowl.
-
Once the yeast is activated, you should see bubbles on the surface of the mixture. Pour it into the mixer bowl. Mix with a spatula until the dough just comes together. Cover with plastic wrap and let rest for 20 minutes.
-
Install the dough hook on your mixer (I used a KitchenAid). Start at low speed, then gradually increase to setting 8 out of 10. Knead for 10 to 12 minutes, until the dough is very smooth. Stop the mixer in the middle and scrape the dough from the sides of the bowl. Test the dough by pulling a piece of it using both of your hands. It should stretch into a very thin and translucent sheet. The dough should be wet and a bit sticky.
-
Grease a big bowl with a thin layer of oil. Place the dough into the bowl. Cover with plastic wrap and place the bowl in a warm spot. Let rise until the dough doubles in size, about 1 hour.
Assemble the bread – 2nd rise
-
Line two 13” x 9” (33cm x 23 cm) baking pans with parchment paper. (*Footnote 1)
-
Punch the air out of the dough. Transfer it onto a lightly oiled working surface. Divide the dough into 8 even pieces, 81 grams per piece.
-
Shape the dough one piece at a time. Tuck the dough onto itself by pinching the dough from all sides into the center using your fingers, creating a round shape. Then roll the dough in a circular motion with your palm against the table, until it forms a round ball. Cover the dough pieces with plastic wrap to prevent them from drying out.
-
Work on one dough ball at a time. Use a rolling pin to roll each ball into the shape of a slice of ham, but slightly larger (about 5×7”, or 12x18cm ). Place a piece of ham in the center of the dough. Roll up from the bottom, to form a tight log. Roll the log a few times to smooth it out. Pinch both ends to seal.
-
Fold the dough log lengthwise in half, pinching the ends to seal once more (it looks like a water drop shape). Turn the dough onto its side, from 1/2” (1cm) of the pinched side, slice cleanly through the center lengthwise with a bench scraper or sharp knife, leaving the pinched side unsliced. Carefully pull the two cut pieces apart, laying them out flat on the lined baking sheet. Press the center slightly to avoid large gaps in between. Repeat to finish assembling all the buns.
-
Cover the baking pan with plastic wrap. Let rest again for another 35 to 45 minutes, until the size has doubled.
Final assembly and baking
-
Preheat the oven to 350°F (176°C).
-
Whisk the egg in a small bowl to make an egg wash.
-
Mix the mayo, shredded cheese, and dried parsley together in a small bowl for the filling.
-
Once the bread is done proofing, gently brush the top with egg wash.
-
Add about 2 tablespoons of the cheese-mayo mixture onto the center of each bun.
-
Bake at 350°F (176°C) for 18 minutes, or until the top turns golden. Let the bread cool slightly, then they are ready to serve.
Store and reheat
-
Once the bread has cooled completely, store the bread in an airtight container at room temperature if planning to serve within the day. Store in the refrigerator for up to 2 days, or in the freezer for up to 3 months. Reheat in the oven at 350°F (176°C) until warmed through before serving, for the best texture.
Notes
- Ham that is about 1/16” to 1/8” thick works the best. It will be a bit harder to assemble if it is too thick. Use thin sliced ham if you prefer a bread that’s less meaty.
- The buns will need some space in between them because they will expand more after the second proofing and baking. I highly recommend using two baking sheets and baking them in two batches, to prevent the buns from crowding the pan.
Nutrition
Serving: 1serving, Calories: 375kcal, Carbohydrates: 43.4g, Protein: 12.9g, Fat: 16.7g, Saturated Fat: 6.8g, Cholesterol: 88mg, Sodium: 773mg, Potassium: 217mg, Fiber: 1.6g, Sugar: 10.9g, Calcium: 71mg, Iron: 2mg


